
Last Updated on January 28, 2025 by Ava
Ebook formatting can either be super simple or complicated. It’s completely up to you.
I like to keep things simple!
It is with that in mind that I’ve developed these steps to format ebooks for Kindle Direct Publishing, other self-publishing platforms, and aggregate publishers.
Easy Ebook Formatting Tutorial
If you’re a first-time publisher, there is no other feeling like seeing your own work on a huge platform like Amazon for the first time.
These are the exact steps that I have used to publish my own books.
These are also the exact steps that I use to format books for clients.
The prerequisite for these steps is to have the manuscript you are going to format in Word document format.
The simplicity of this task may leave you wondering why we’re not adding page numbers, fancy fonts, or other formatting elements.
The eReader settings dictate the look and feel of the book rather than the formatting. Spending loads of time on fancy formatting is a waste of time. eReaders will not display fancy fonts and they don’t use page numbers.
It really is this easy to format for eBooks.
Enough yapping…let’s jump into these steps!
Step 1. Upload the manuscript to your Google Drive.
What? No Google Drive?
Do you have Gmail?
If so, you have 15GB of free storage space available to you at https://drive.google.com.
If not, this tutorial uses it. It’s free, but you’ll have to create a Google account to get access. You can use other Microsoft Word alternatives like LibreOffice or OpenOffice. Just adhere to the same simple formatting tips I use below.
Why Google Drive?
Because it is super simple to use. It doesn’t have all the bells and whistles that Microsoft Word has, but it has all the ones you need and eliminates the confusion.
The default styles in Google Docs which is contained inside Google Drive are the exact ones you need to format your eBook for KDP and other aggregate publishing platforms.
This is the main reason I use Google Docs to write and format my books.
There are many other benefits as well, like:
- Google Docs autosaves every time you make a change
- Your Google Doc is automatically saved to the cloud
- It’s FREE
Step 2. Open the manuscript in Google Docs.
From your Google Drive, right-click the file, hover your cursor over Open with, and select Google Docs from the fly-out menu.
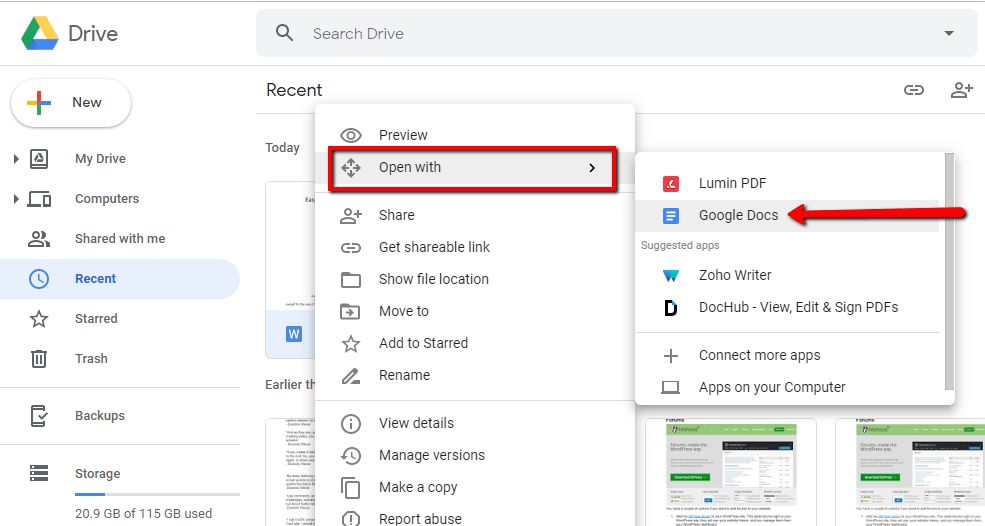
The manuscript will open in your browser.
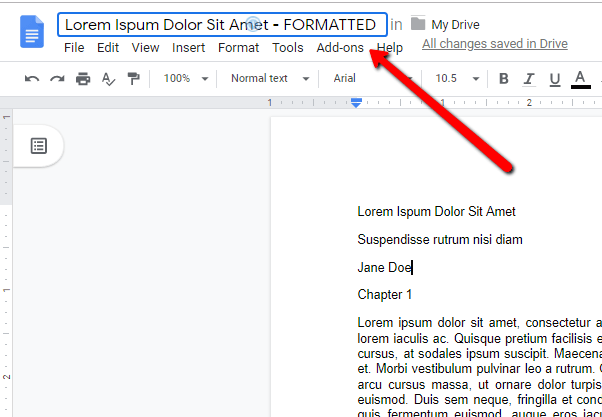
I would recommend editing the document name in the top-left corner to indicate that it’s the formatted version so when you download it as a Word document when you’re done, you don’t get it mixed up with the original file.
Step 3. Format the Title Page.
Your Title page should contain 3 elements:
- The book title
- The book subtitle if applicable
- The author’s name
This information needs to match your book cover exactly to prevent errors during the publishing process.
Sometimes, a title page may contain other information like copyright, publisher, etc.
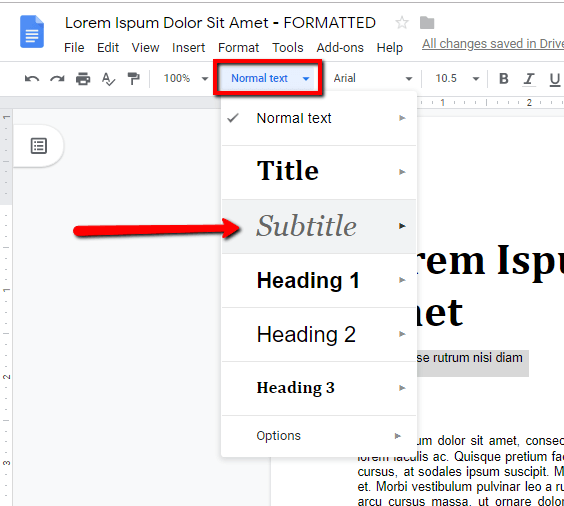
Highlight the title and select the Title style.

Highlight the subtitle, and select the Subtitle style.
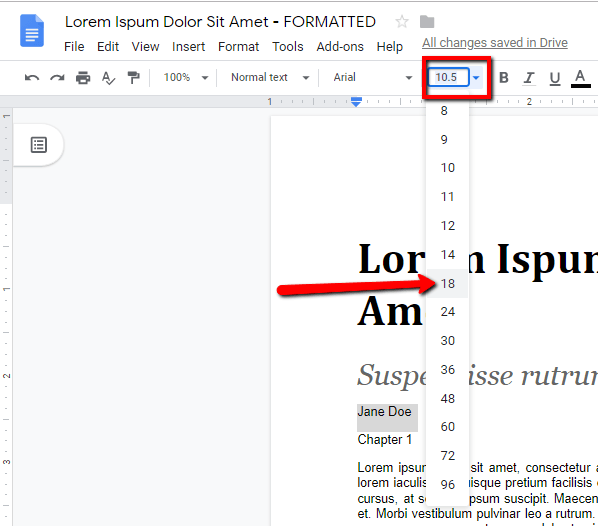
Highlight the author name and increase the font size a bit.
Highlight all three items and center align them on the page.

Finally, place your cursor after the author name, and press the Ctrl+Enter keys.
This inserts a Page Break and drops the rest of the text in the manuscript down to the next page.
At this point, you should have something that looks like this:

You are free to make this page aesthetically pleasing to your eye.
I like to adjust the font sizes and drop the author name down a few lines. I end up with this:

Normally, I would tell you to click Save right here, but you don’t have to worry about that because Google Docs autosaves each time you change the document.
Isn’t that GREAT!?!
Step 4. Insert page breaks after each section of the manuscript.
Drop down to the first page after your Title page and press Ctrl+Enter again.
This will insert another Page Break and create a blank page. This is your future Table of Contents.
The first section of the manuscript isn’t always the first chapter. Some authors have additional copyright information, dedications, forewords, prefaces, etc.
Whatever the case, you want to insert a Page Break after each section and chapter of the entire manuscript.
If you end up with extra spaces after the Page Break, press the Delete key until the next section is at the top of the page.
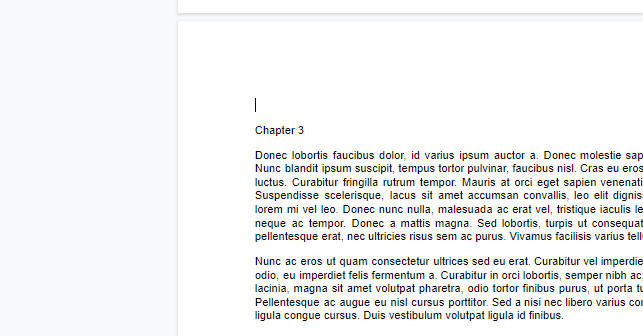
To eliminate this problem, place the cursor directly to the left of the next section before creating your Page Break.
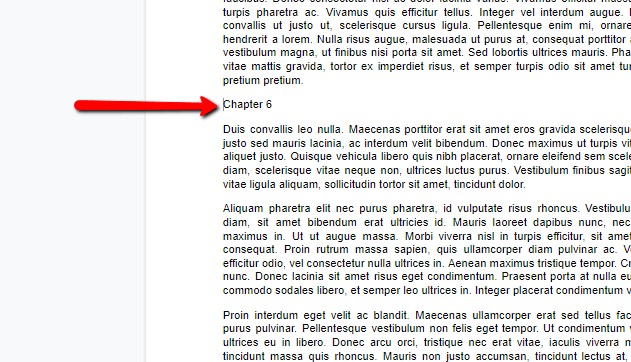
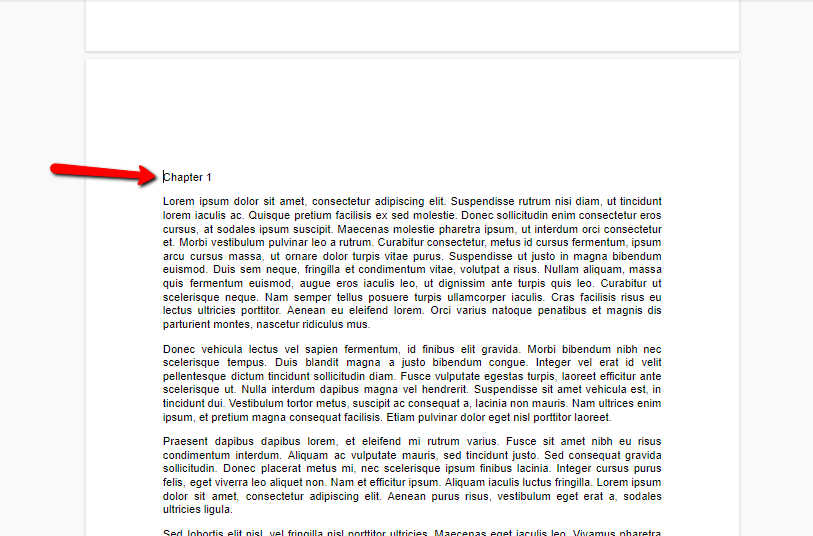
Step 5. Format your headings and subheadings.
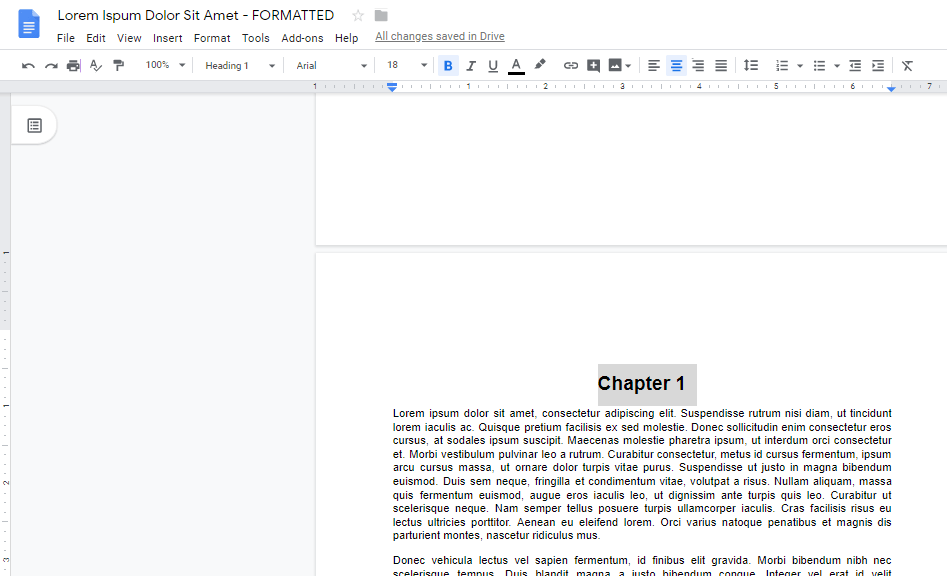
Highlight the title of each section of your book, and select the Heading 1 style from the drop-down.
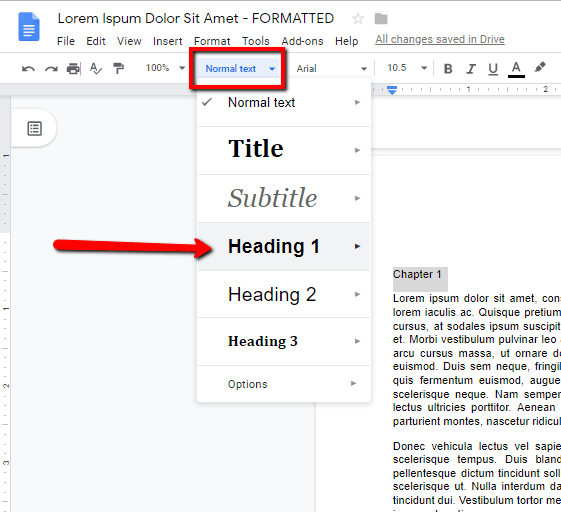
If you have subheadings, you can differentiate up to 3 levels deep using Styles in Google Docs before you have to manually format them with the font tools.
In my experience, I rarely need anything deeper than a Heading 3, and even if I need a Heading 4 through 6, it’s not something I need to include in the Table of Contents so it doesn’t matter.
You are free to center align your headings or format that as you prefer.
Step 6. Insert your Table of Contents.
Once you have formatted all of your headings, scroll back up to the blank page you created previously for your Table of Contents.
If you don’t have a blank page yet, you can create one by creating a Page Break after your Title page
Click Insert, hover your cursor over Table of contents, and click the with blue links option.
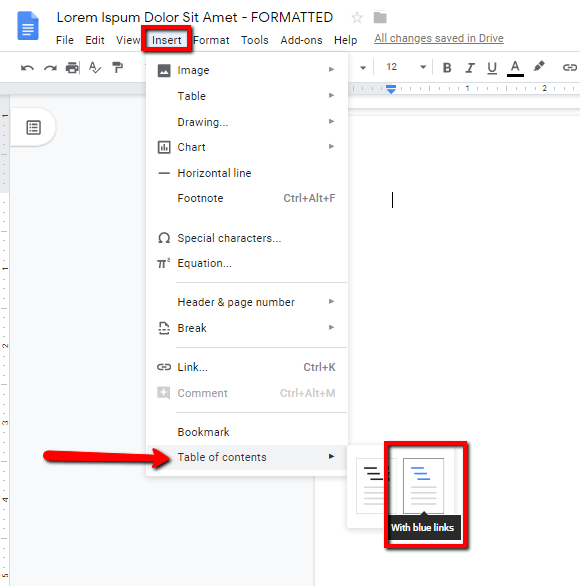
This will insert a linked clickable Table of Contents into the manuscript.
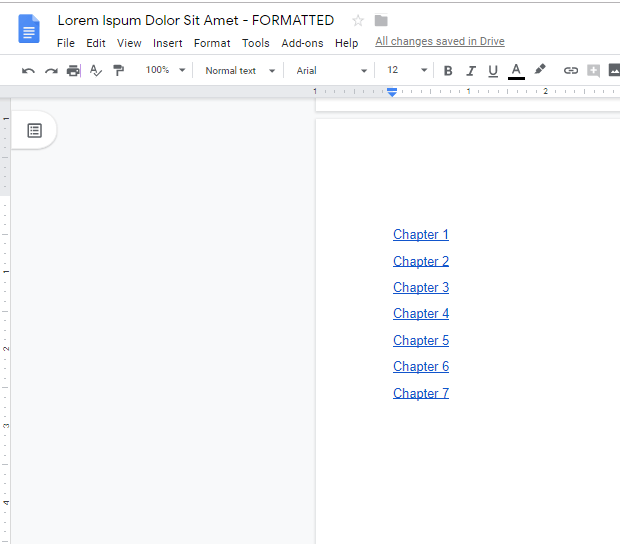
When a reader taps or clicks these links, they will be taken to the corresponding section of the book.
Download the manuscript as a Word document.
This is the final step.
The Word document you download will be ready to upload to Amazon KDP or an aggregate publishing platform.
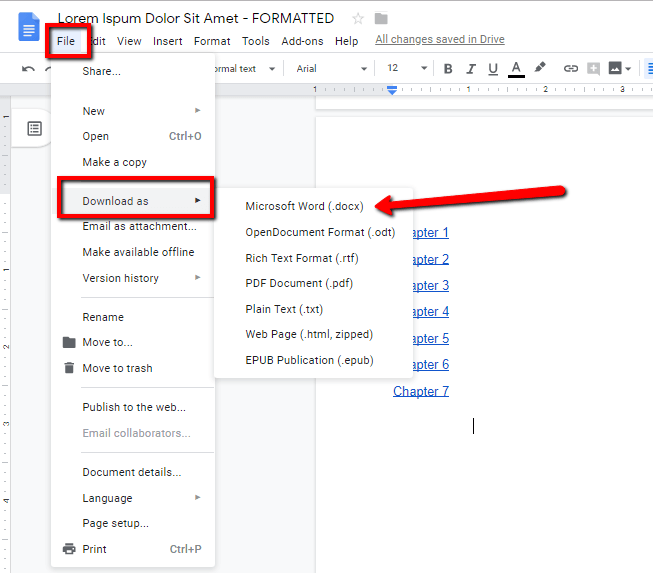
Click File, hover your cursor over Download as, and select Word document from the fly-out menu.
That’s a Wrap
That’s all there is to it. Easy, right? Share this tutorial with someone who needs help!